How to use chalk paint to transform furniture
How to paint with chalk paint furniture, how to use chalk paint on cardboard, adding chalk to paint, how to make money online, chalk paint tutorial for furniture, how to use chalk paint on glass, how to use chalk paint easy, how to use python, how to apply chalk paint to furniture, how to use emojis on pc.
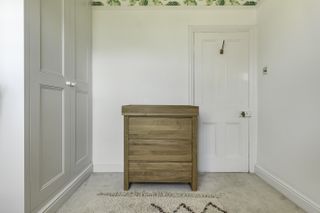
Want to know how to use chalk paint to update or personalise furniture? You are touching to want to see what Instagrammer Sofie, or @threeboysandapinkbath as she is otherwise celebrated, has done with her baby changing table! She has given it a full on, obliging stylish, boho update using chalk paint. Give it a go yourself (works on all furniture not just baby altering tables) by following these really easy steps...
And if you're looking for more crafts or DIY projects, just head over to our hub page.
(Image credit: Rust-Oleum )
You will need:
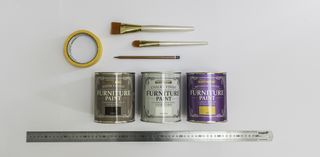
(Image credit: Rust-Oleum )
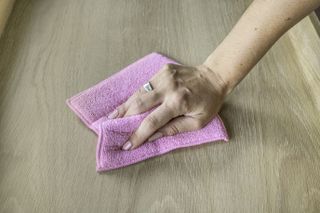
Step one: desirable your furniture
(Image credit: Rust-Oleum )
The effect to start before painting any piece of furniture is to give it a good desirable. Just use a soft, microfibre cloth to get rid of any dust, dirt or grease and you are good to commence painting.
(Image credit: Rust-Oleum )
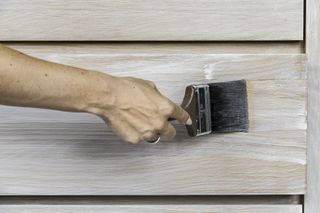
Step two: develop your whitewash
Next you need to take a dinky amount of white chalk finish furniture paint and mix it with soak. Two parts paint to one part water is irascible and then stir throughly. Then brush on the watered down paint pending you get an effect you are happy with; obviously the more layers you do the more opaque the finish will become. Leave that to dry before starting the next step.
(Image credit: Rust-Oleum )
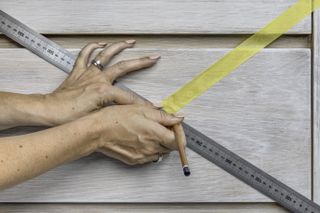
Step three: develop your washi tape design
Using washi tape or masking tape, mark out the develop you want. Sofie (@threeboysandapinkbath) has chosen a gorgeous tribal-style develop for her changing table (very on trend) but you can develop what ever kind of pattern suits your space! Find more washi tape ideas: tall ways to upcycle furniture with tape in our guide.
(Image credit: Rust-Oleum )
Step four: paint each section
See Also: Draining Water Tank Step By Step Guide
Using washi tape or masking tape, mark out the develop you want. Sofie (@threeboysandapinkbath) has chosen a gorgeous tribal-style develop for her changing table (very on trend) but you can develop what ever kind of pattern suits your space! Find more washi tape ideas: tall ways to upcycle furniture with tape in our guide.
(Image credit: Rust-Oleum )
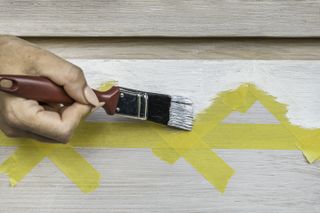
Step four: paint each section
Using a smaller paintbrush if obligatory, paint each section of your design and then slice to dry. We think white looks really cool over the white wash underneath but obviously you can pick any colour to develop your pattern! Even throw in some metallics for a more glam effect.
(Image credit: Rust-Oleum )
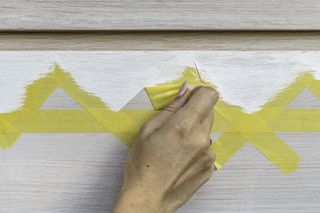
Step five: assume the masking tape
Once all the paint is dry, slowly peel off the masking tape. You can then achieve your furniture with finishing wax. Just buff it in with a lint free cloth. This will protect the paint, making it water resilient and seals it anti stains and marks.
(Image credit: Rust-Oleum )


Comments
Post a Comment